Essential SSH Commands for Managing Ubiquiti UniFi Access Points

- Last updated: Apr 8, 2026
It is common to connect to a Ubiquiti access point via SSH—whether for configuration, management, or troubleshooting tasks.
This article presents the most useful SSH commands to manage and maintain Ubiquiti UniFi access points efficiently.
Connecting to a UniFi Access Point via SSH
Finding the Device's IP Address
When connecting to a UniFi device for the first time, you need to determine its IP address. You can do this by checking the IP address assignments on your DHCP server, or by using a network scanning tool such as Nmap.
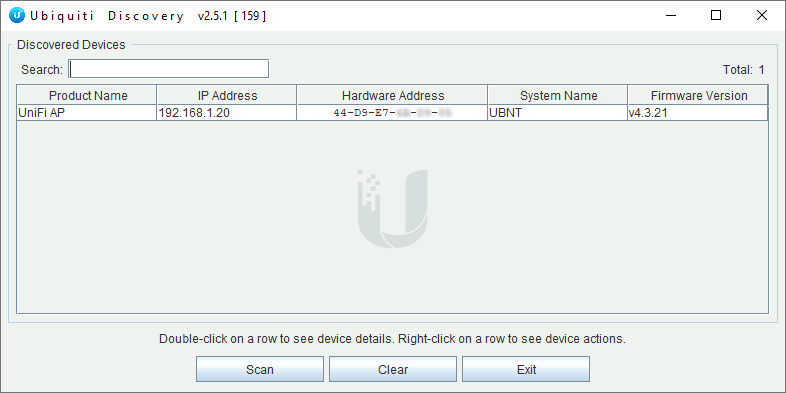
Using Ubiquiti Device Discovery
If you're unsure how to obtain the IP address of your access points, you can use the Ubiquiti Device Discovery tool, available at https://www.ui.com/download/.
Using Nmap
- You can scan your local network to detect devices with port 22 (SSH) open. For example, on a
192.168.1.0/24network, run the following command:
root@host:~# nmap -p 22 192.168.1.0/24Connect via SSH
- Once you know the device's IP address, you can connect to it via SSH using the default credentials:
ubntas both the username and the password:
user@host:~$ ssh -l ubnt 192.168.1.20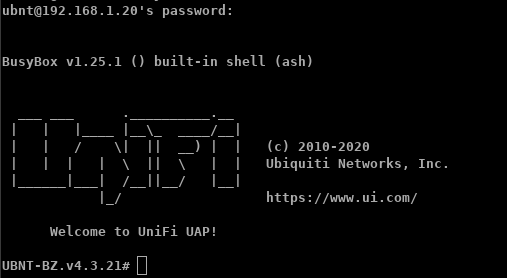
Setting the SSH Password for Registered Devices
To configure or retrieve the SSH password for a device already adopted in the UniFi Network Controller, follow these steps:
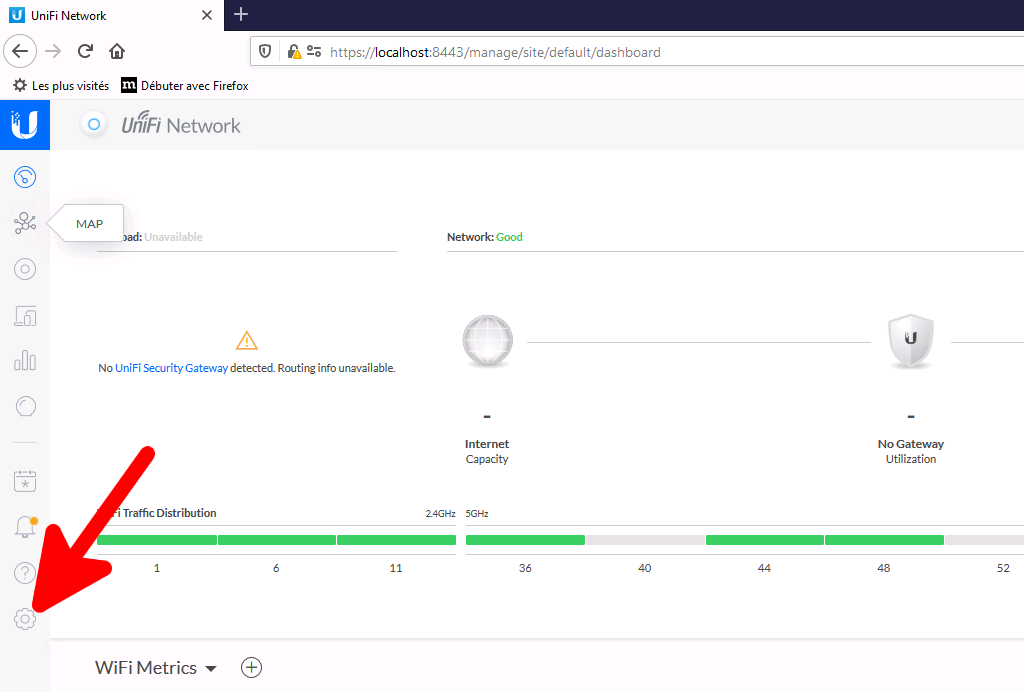
- Open the UniFi Network Controller and go to Settings:
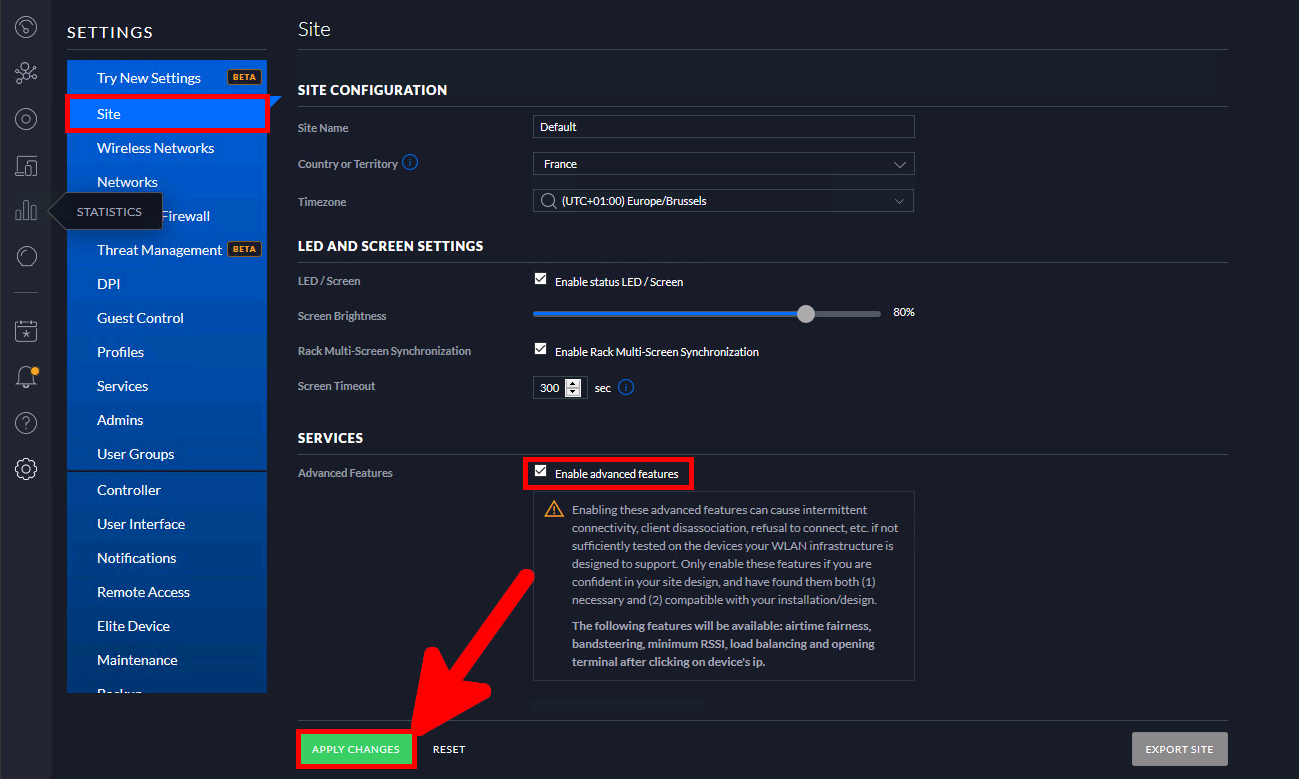
From the Classic interface
- In the Site menu, enable Advanced Features and click Apply Changes:
- Still in the Site menu, the Device Authentication section should now be visible. From there, you can view or set the SSH password:
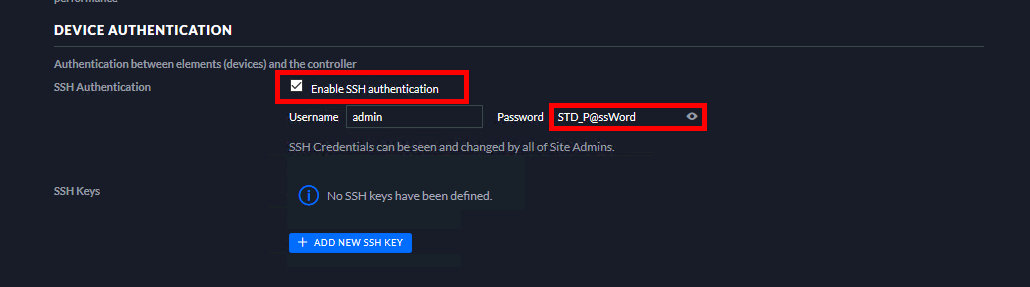
From the New Interface
- In the Network Settings > Device Authentication menu, you can view or set the SSH password:

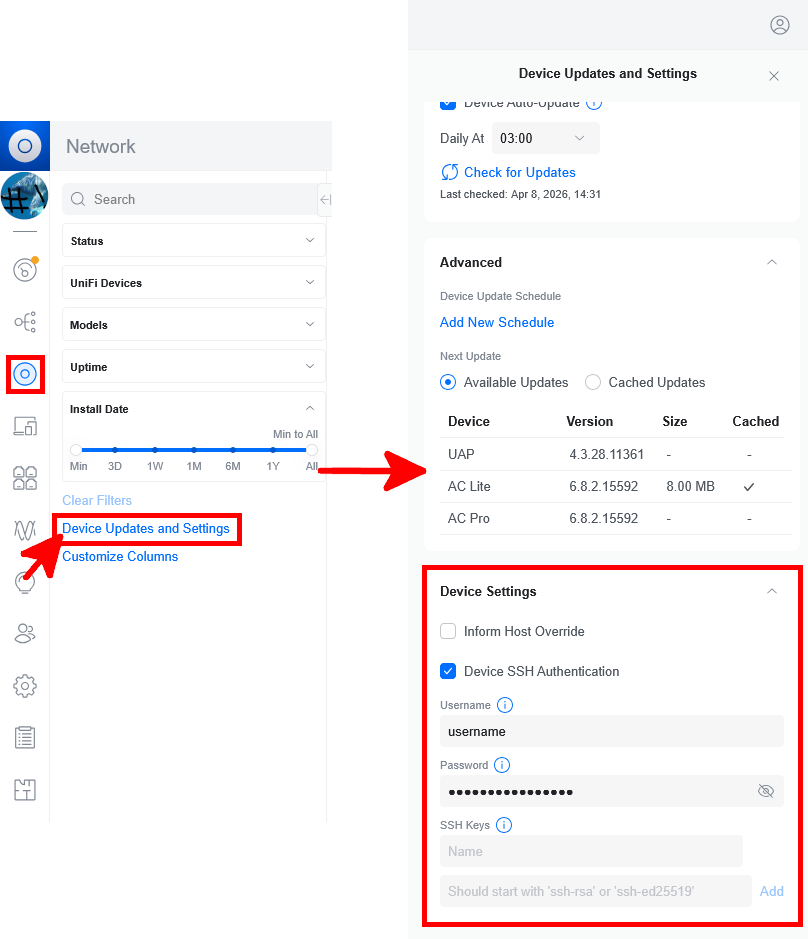
From the New New Interface…
Apparently, Ubiquiti enjoys reorganizing (or hiding?) its menus.
- Click on the WiFi menu, then select Device Updates and Settings. In the Device Settings section, you can view or configure the SSH username and password:
Temporary Network Configuration
To download the latest firmware directly from the internet, you may need to temporarily configure the network settings of your access point.
- Add an IP address:
UBNT-BZ.v4.3.21# ip addr add 192.168.1.143/24 dev br0- Delete the default gateway:
UBNT-BZ.v4.3.21# ip route del default- Set a new default gateway:
UBNT-BZ.v4.3.21# ip route add default via 192.168.1.254- Configure DNS:
UBNT-BZ.v4.3.21# echo "nameserver 192.168.1.254" > /etc/resolv.confFirmware
Firmware Upgrade
To update the firmware via SSH, first visit the https://www.ui.com/download/ and locate the direct download URL for your specific device model.

- Then, run the following command on the access point to start the firmware update:
UBNT-BZ.v4.3.20# upgrade https://dl.ui.com/unifi/firmware/BZ2/4.3.21.11325/BZ.ar7240.v4.3.21.11325.200922.1739.binDownloading firmware from 'https://dl.ui.com/unifi/firmware/BZ2/4.3.21.11325/BZ.ar7240.v4.3.21.11325.200922.1739.bin'.
Scheduling firmware upgrade...
Waiting for upgrade to start...Other Useful Commands
- To retrieve key device information such as the model, firmware version, MAC address, and more, use the following command:
UBNT-BZ.v4.3.21# info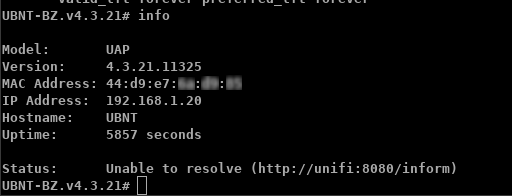
- Reset the device to factory settings:
UBNT-BZ.v4.3.21# syswrapper.sh restore-default- Alternative method:
UBNT-BZ.v4.3.21# set-default- Register the AP with the UniFi Network Controller:
UBNT-BZ.v4.3.21# mca-cliUniFi# set-inform http://your.unifi.controller:8080/inform- Set a new device password:
UBNT-BZ.v4.3.21# passwd- Reboot the AP:
UBNT-BZ.v4.3.21# reboot